In this tutorial we will learn how to set Apache Request Headers and as you know that Apache is the most widely used web server software and runs on 67% of all websites in the world. CyberPanel is also offering the feature of Apache so if you are not using it on CyberPanel until now then you can know more about how to integrate Apache on your website from this link.
Considering that you are already using Apache with CyberPanel and you want to add custom headers.
Another Interesting article: Apache vs NGINX – Who WINS in terms of Performance?
How to Check Request Headers
Depending upon the brower, go to tools and select developer tools:
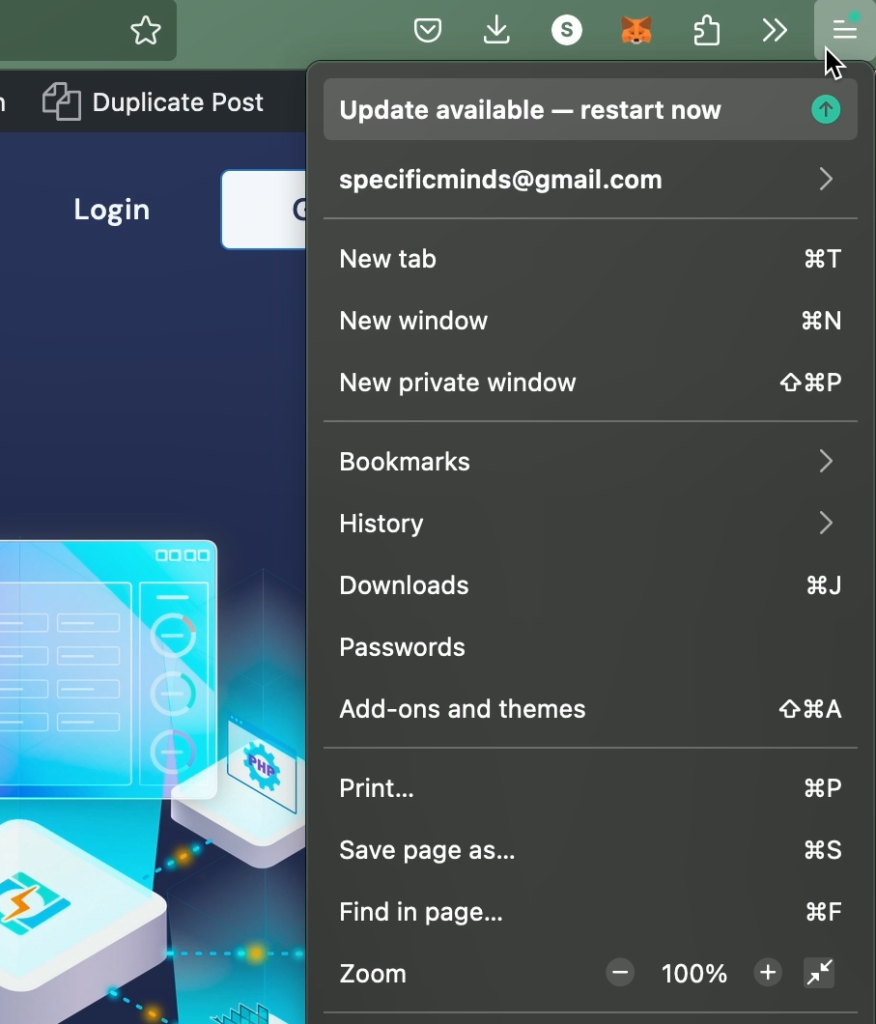
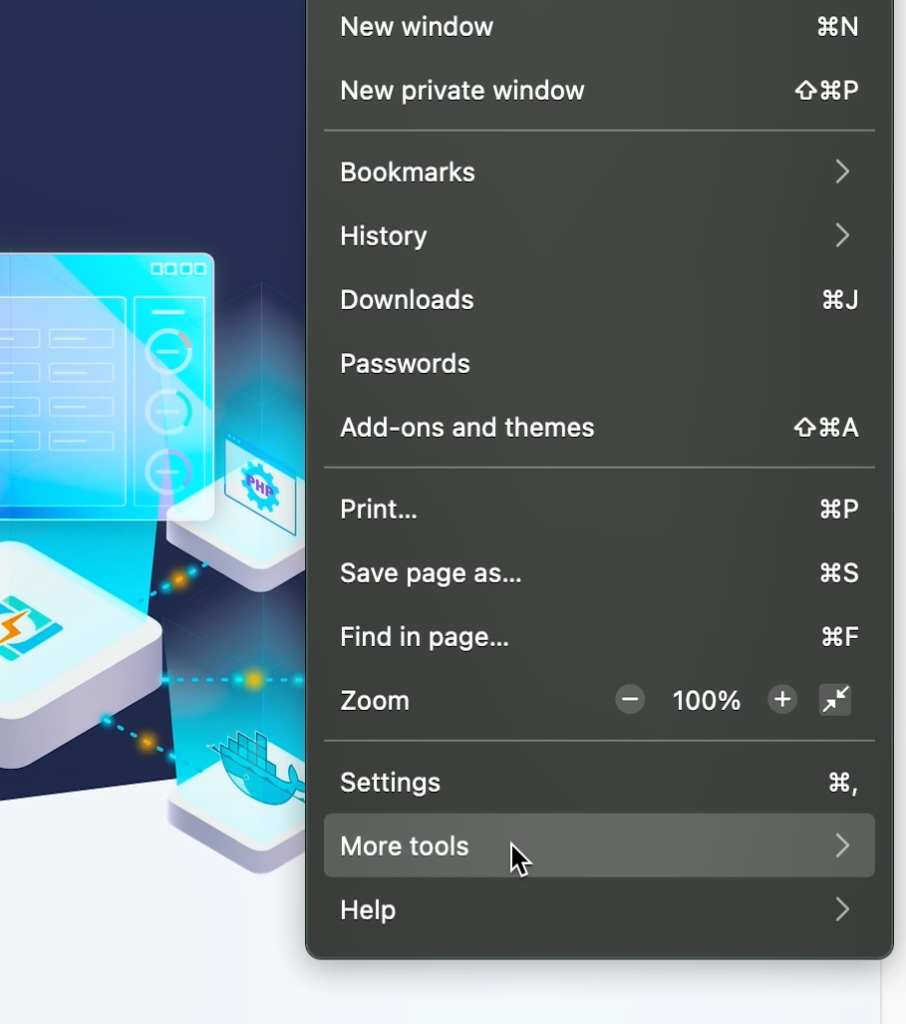
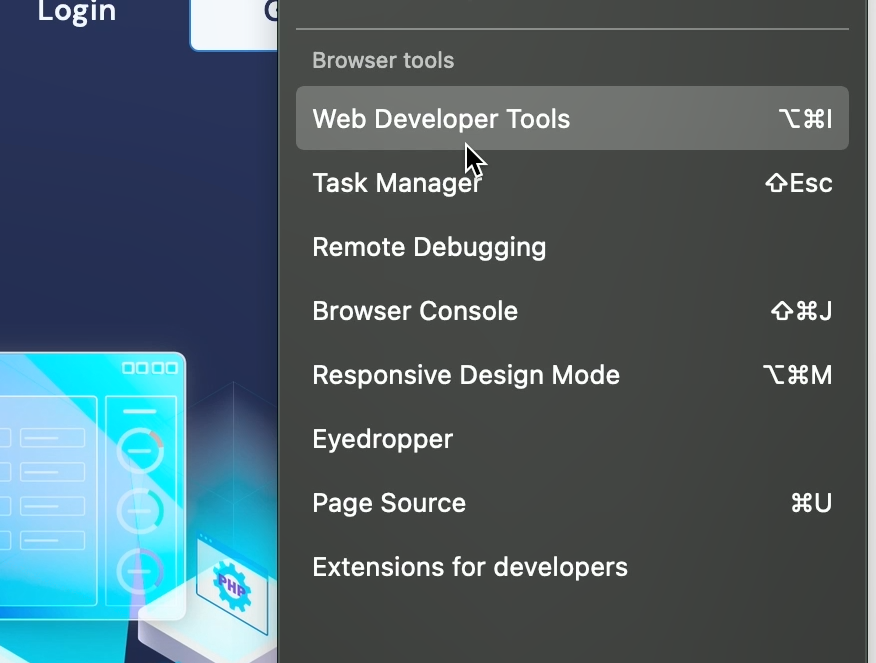
So, these are all called headers and we want to add custom headers in it.

How to Set Apache Request Headers
Usually, we have to include custom headers to set cache or we may use custom headers according to our needs too. So first log into your CyberPanel server.
Get exclusive access to all things tech-savvy, and be the first to receive
the latest updates directly in your inbox.
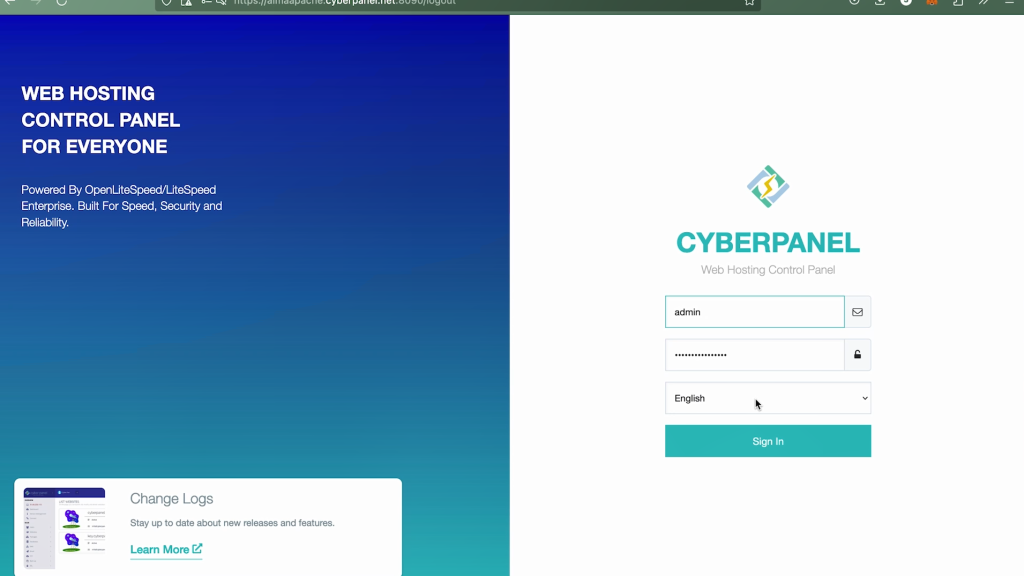
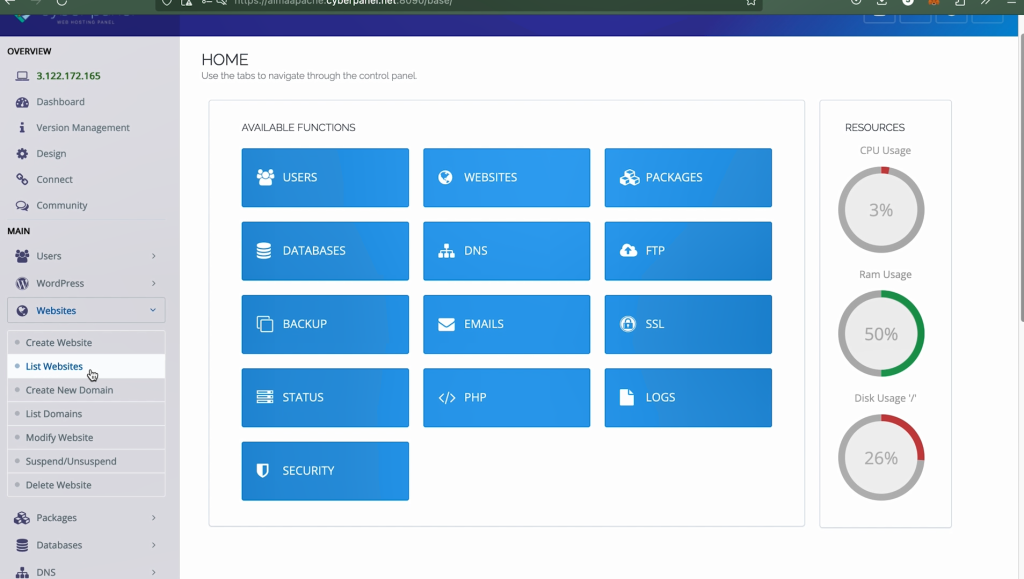
Click on list websites:
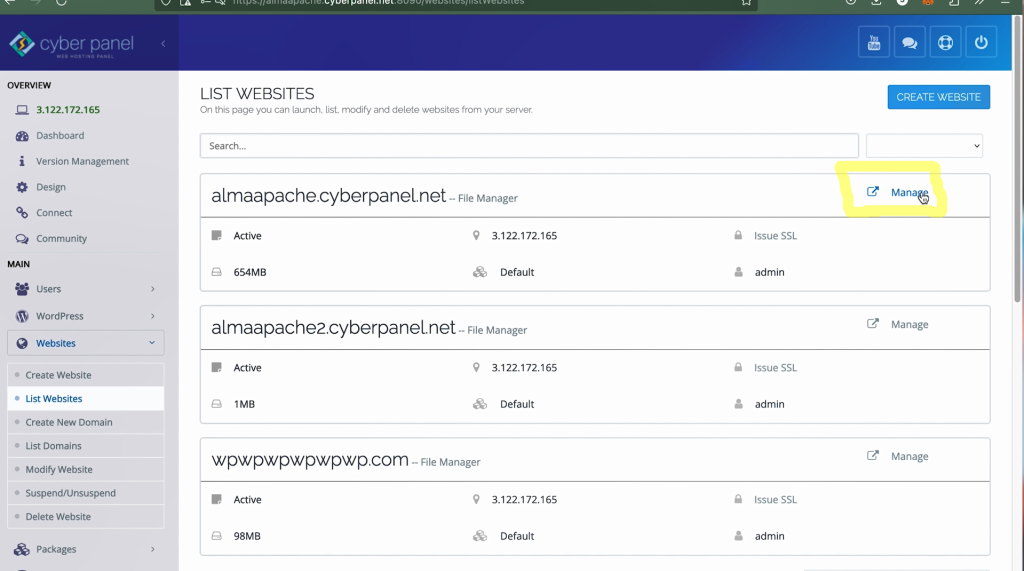
Subsequently, open Manage:
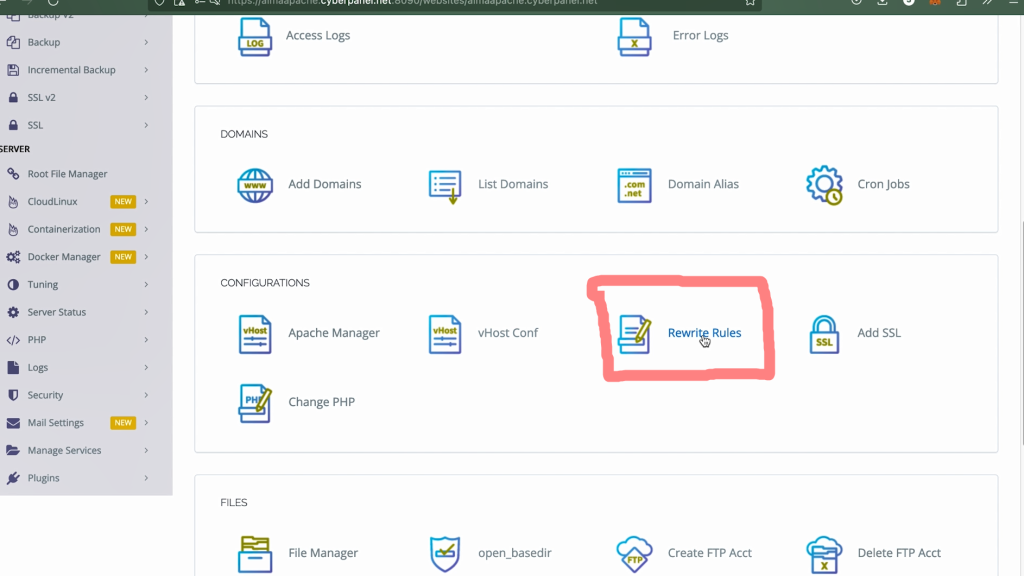
and then click on rewrite rules:
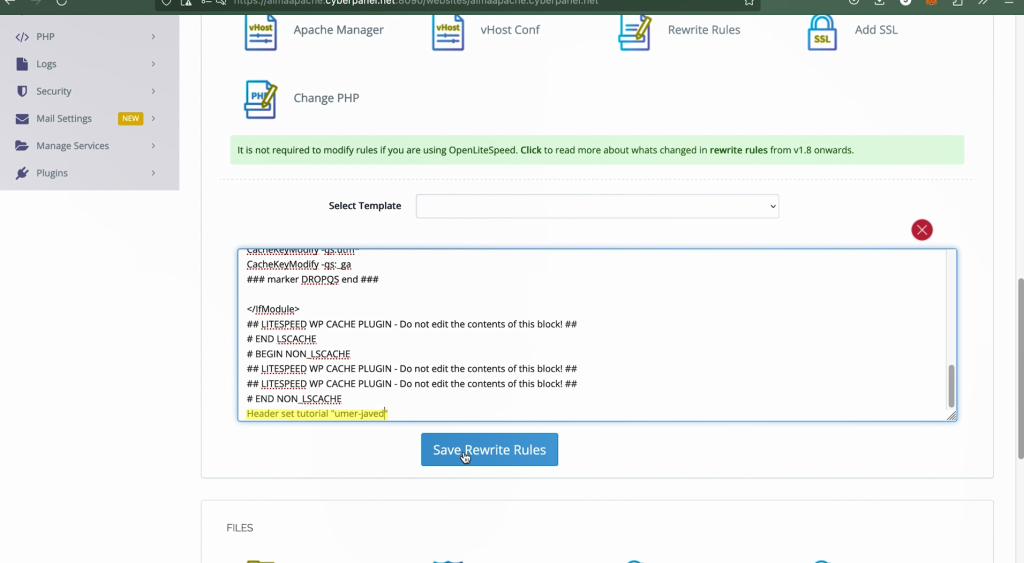
and now give the command Header set and name header you want to add, in my case I would say it tutorial and then you have assign its value and in this demo, I will assign it my name “umer-javed”
Finally, you can see the custom headers in the following image which is highlighted in Yellow:


